Day 2:
Today we start by placing the lenses into the emblems, making sure the smooth side is facing outward when mounted on the truck.
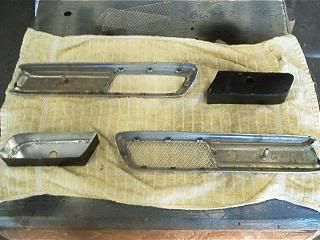
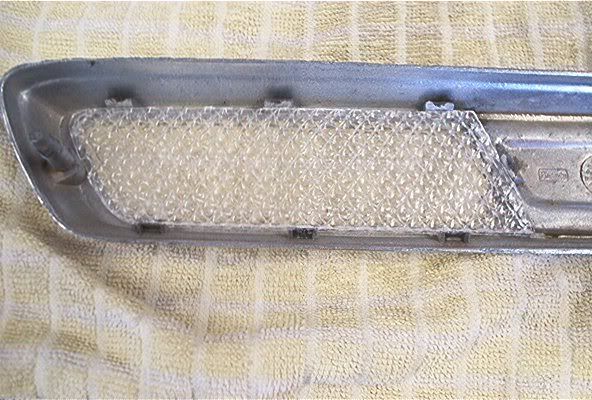
Next I placed the bulb housing over the lenses making sure that the 7 mounting tabs are on the outside of the housing. Then a problem arose. Anyone see it?
It seems that when the emblem assembly is finally mounted to the truck, there would be no way to put the speed nut on the metal post to tighten down the emblem. Glad I caught this problem before the bulb housing was mounted to the emblem permanently.
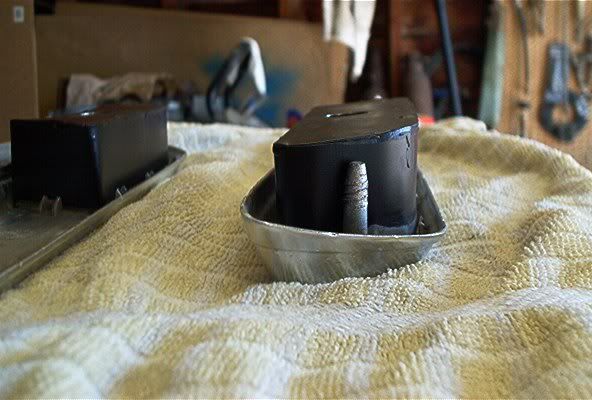
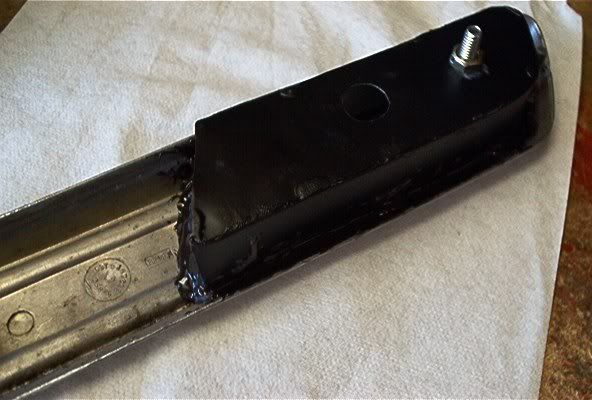
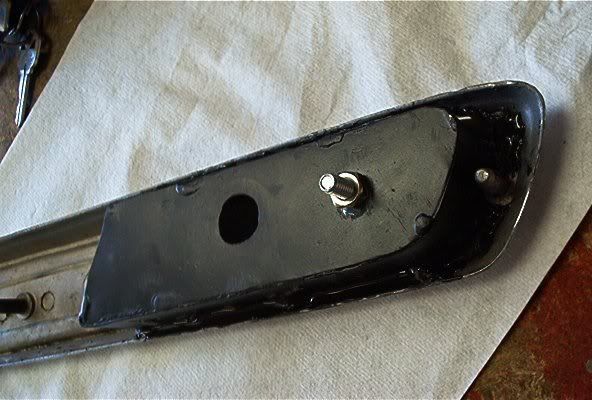
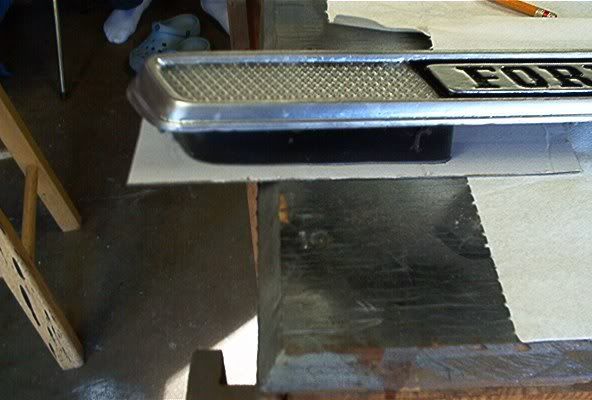
Inspired by how a aftermarket gauge is mounted, the fix was to drill a 1/4" hole in the back of the bulb housing. Mount a bolt there threads facing out, with a nut and some thread locking compound now we have a new mounting stud. More on this later.
Now that this disaster was diverted, we can actually mount the bulb housing for the last time. Place it again over the lenses ensuring that the 7 tabs are on the outside, press down firmly to set it.
The only thing I could imagine that would hold these 2 pieces together was JB Weld. If you were to try and braze it together you would melt the "pot metal" the emblem is cast from and destroy it.
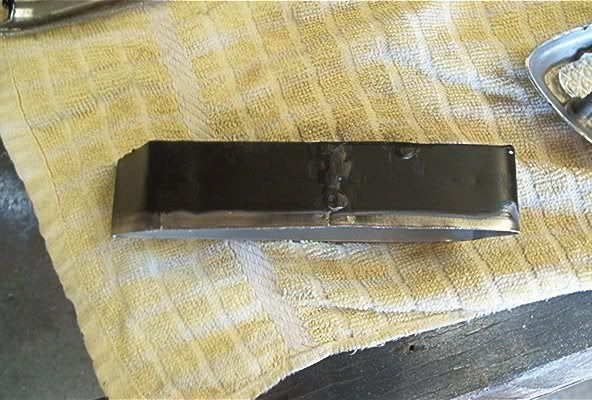
As far as the JB Weld, I used 2 packages of the quick set version, 1 package for 1 emblem. I mixed about 1/3 a tube at a time and filled in the area at the bottom where these two pieces met. But first for good adhesion you need to remove the paint from the bottom area of the bulb housing as such:
All the way around.
I went completely around the bulb housing once with JB, let it set up then went around it again. The bond does have to be strong since now the bulb housing is going to support mounting the emblem to the truck via the new stud. Now it should look like this:
There was a tiny issue during the first time around with the JB Weld. When you first mix it, the JB is still somewhat thin and runny. It will run in between the two layers of Acrylic and show up on the top and bottom of the outside. So start filling the left and right edges first as the runny~ness doesn't seem to effect those areas. When the JB barely starts to thicken then do the top and bottom.
Ok this stuff sets up in about 4 minutes so work quick. After your all done, it should look like this:
JB Quick Set fully cures in 4 hours, So this would be a good time to go cut the hood to accept these new emblems.
To do this I created a template for each side. Put your new emblem assembly on top of a piece of thin cardboard, roughly the size of the emblem and trace around the base of it.
Cut the cardboard out and place it back on the emblem housing. It should fit nicely around the bulb housing, if not do some trimming. After it fits good the cardboard will stop at the top of the old mounting studs. Using a sharp awl or other pointy item make a hole where the stud is. Push the cardboard down over the metal mounts, pull it off and do some trimming until everything fits nicely. If the cardboard fits tightly, that's fine for cardboard, but the hole in the metal isn't going to give any. So make sure everything fits nice and loose.

At this time you should have a pretty good template. Mark the top of the cardboard as to the location of the top of the embelm. Now we need to transfer that template to the truck hood. To do this I placed several strips of 2" masking tape over the location of the emblem on the hood. Be sure to mask anywhere your metal cutting device may scratch the paint.
Now with the tape on there, punch out the two mounting holes on the hood, line up your template and trace it out. Be sure as to the orientation of the top of the emblem.
Now its time to cut the hood, follow the lines made from the template and cut away. This part sucks! BE SURE TO WEAR SAFETY GLASSES !!!
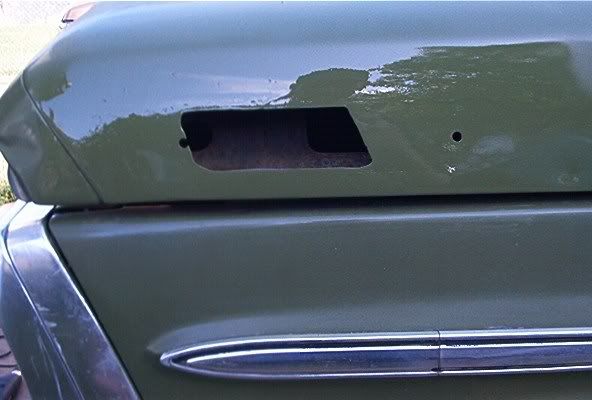
After I got my hood cut out things dident quite fit correctly, so I used the air powered angle grinder and sized things up. I filed all the rough areas to make it look nice and then I took the opportunity to repaint the area where the emblem resides. It looked like this:
By this time the JB probably still isn't cured all the way so lets move on to wiring.
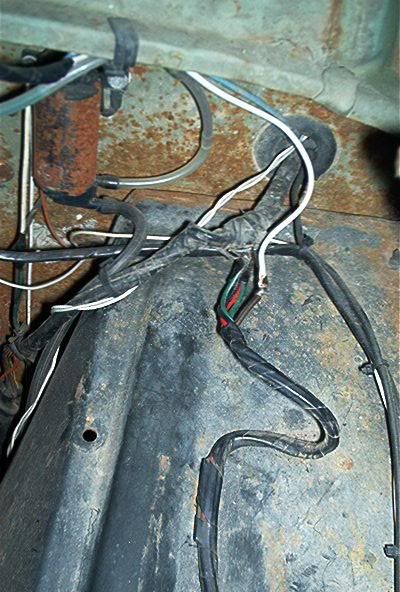
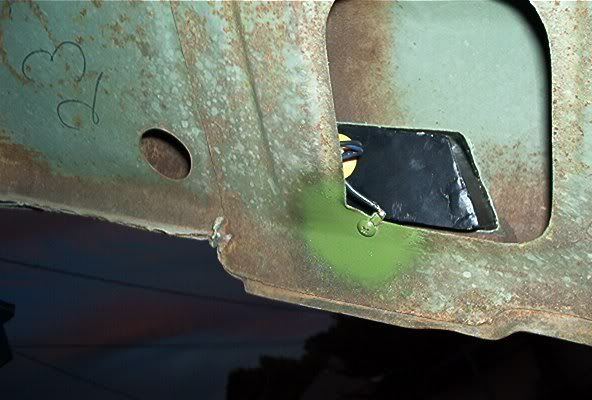
I ran a wire thru the hood left to right long enough to reach both light bulb sockets inside the hood supports. Then I ran a wire up from the bottom to this wire and tapped it. The wiring resembled a "T" when I was done. Run the wire out the back of the hood and down to the wiring harness coming out of the drivers side cab. Here you can tap the parking light circuit. It is a brown wire inside this bundle:
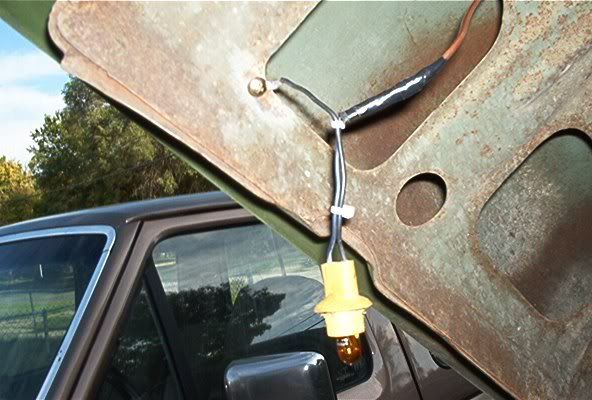
Back up top with the wires, I soldered in the light bulb holders from the parts truck. 1 wire to a ring terminal for ground, 1 wire soldered to the parking light wire we just ran.
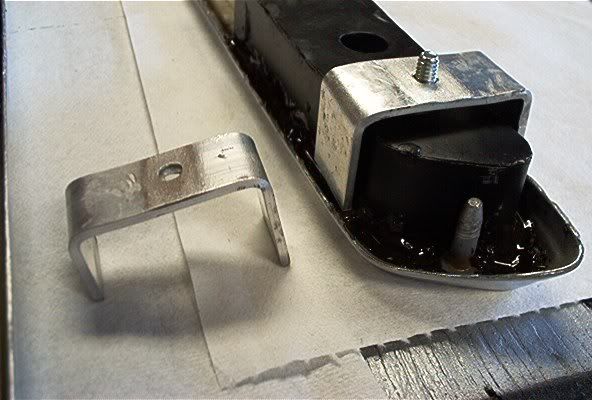
It's time to go back to the emblem housings. Again inspired by how aftermarket gauges are mounted I made a bracket out of 1/2" aluminum to go on the stud we inserted into the bulb housing. One side longer than the other to match the contour of the hood. Be sure that the two legs will reach the actual hood metal and not sink into the JB Weld. In this picture you can see the bracket I made. This was taken before I spread out the legs of the bracket as to contact the hood mounting surface.
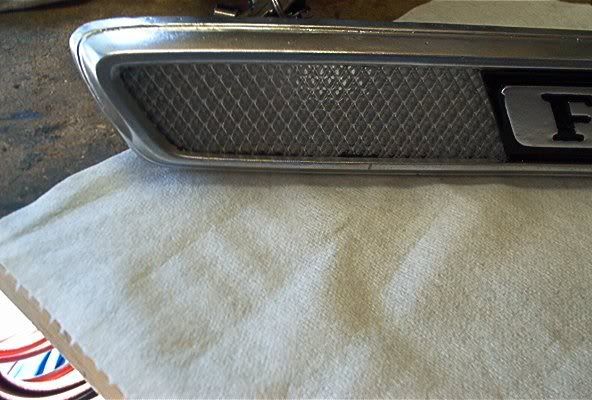
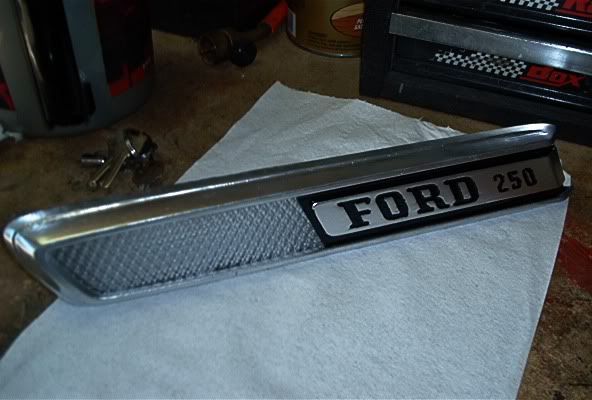
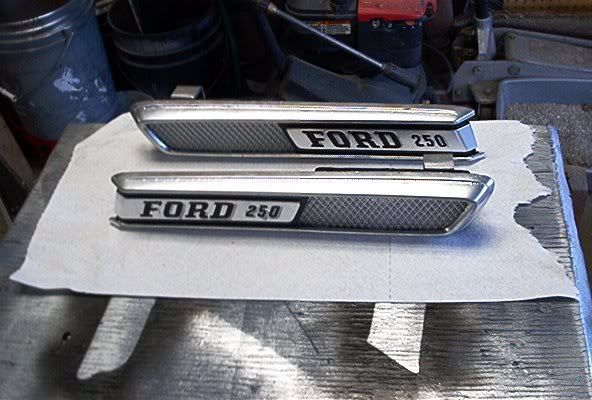
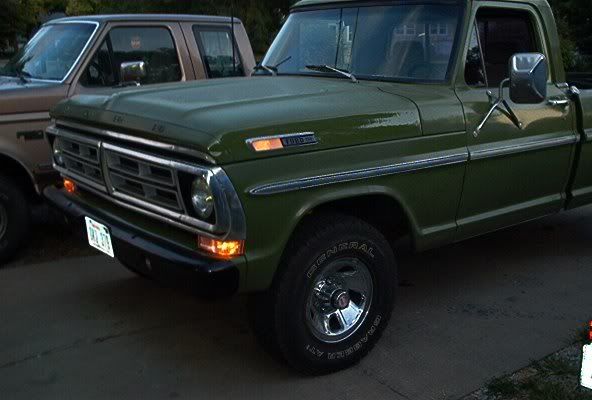
After all that fabrication, this is where I touched up all the black paint on the emblems, this is what 2 days work will get you:

Time to mount the refurbished emblems. Carefully place the assembly into the hood. Secure the rear speed nut so the emblem doesn't fall to the ground. Move on to the front where you will need to mount the bracket we made. Long leg to the bottom, short to the top. Tighten a nut on the stud a little over finger tight as it will be pulling against the newly applied JB Weld. Perhaps when the JB is fully cured, it can be tightened further.
One trick here: Before you stick in your light bulbs dip the tip of them in some kind of paint as so:
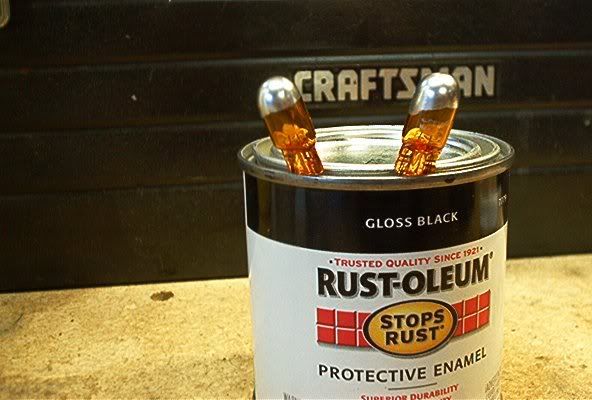
Otherwise the emblem will light up more in the center where the light bulb is than the rest of the area.
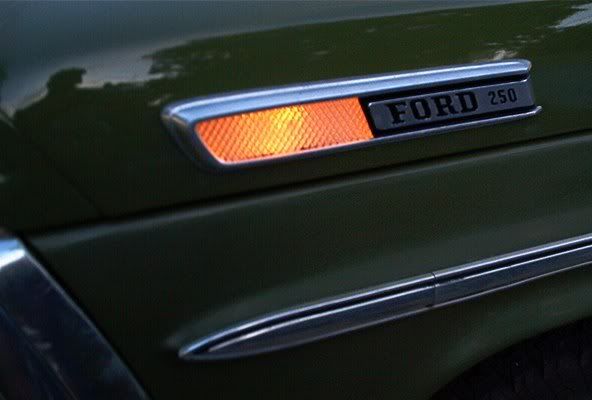
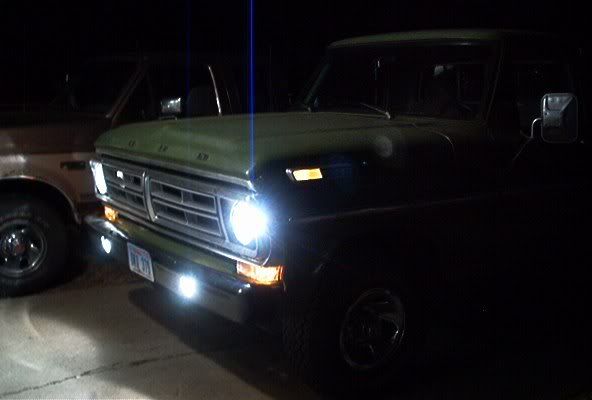
Your pretty much done now assemble your light bulb into the socket and such...... Stick it in and admire your work.
This is what it looks like on the inside:
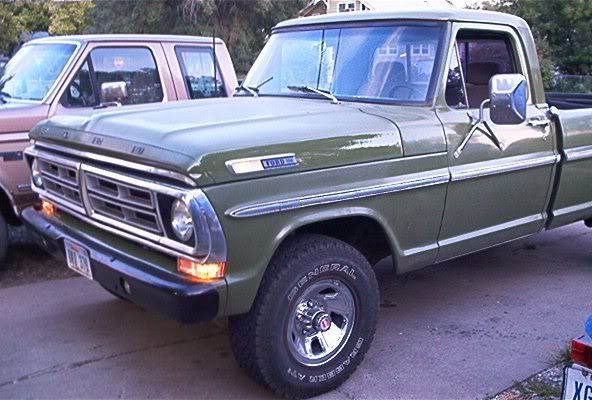
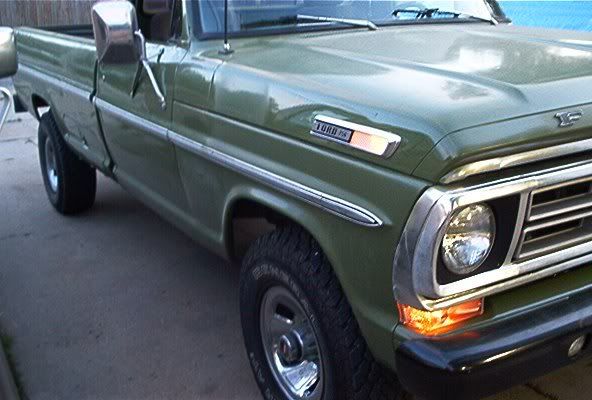
and the outside:

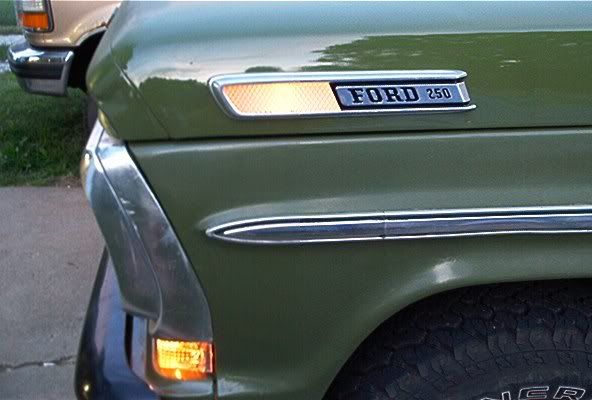
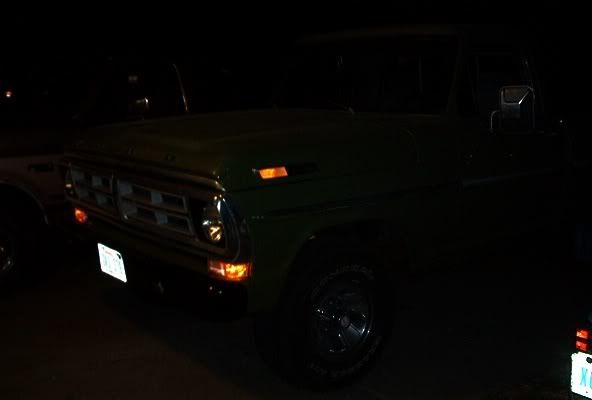
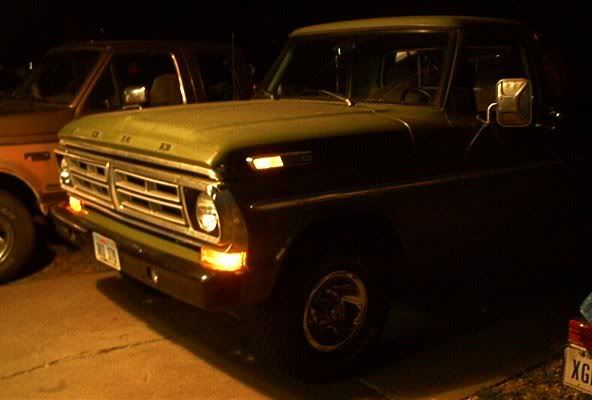
Now if I were to do it again, I might just use an amber or orange Acrylic for the lenses. It may have looked better or may not have?? I hate doing things half a** so next time I would take more time to form the bulb housing and a full brazing all around the cover plate. Other than that I think it turned out pretty darn good. With that bulb dipped on the tip with paint, the emblem has a nice glow that fills up the entire housing, which is very nice. It looks much better in person than it does in the pictures.
Two - 1/2 days worth of work.... Think it was worth it. Now someone should make a LED version... That could quite possibly be a product for one of the restoration companies.


Thanks everyone for the ideas!!

1974 Ford F-100 4x4- 360 / manual.
1970 Ford F250 4x4 ~ Sold.


