So after the initial
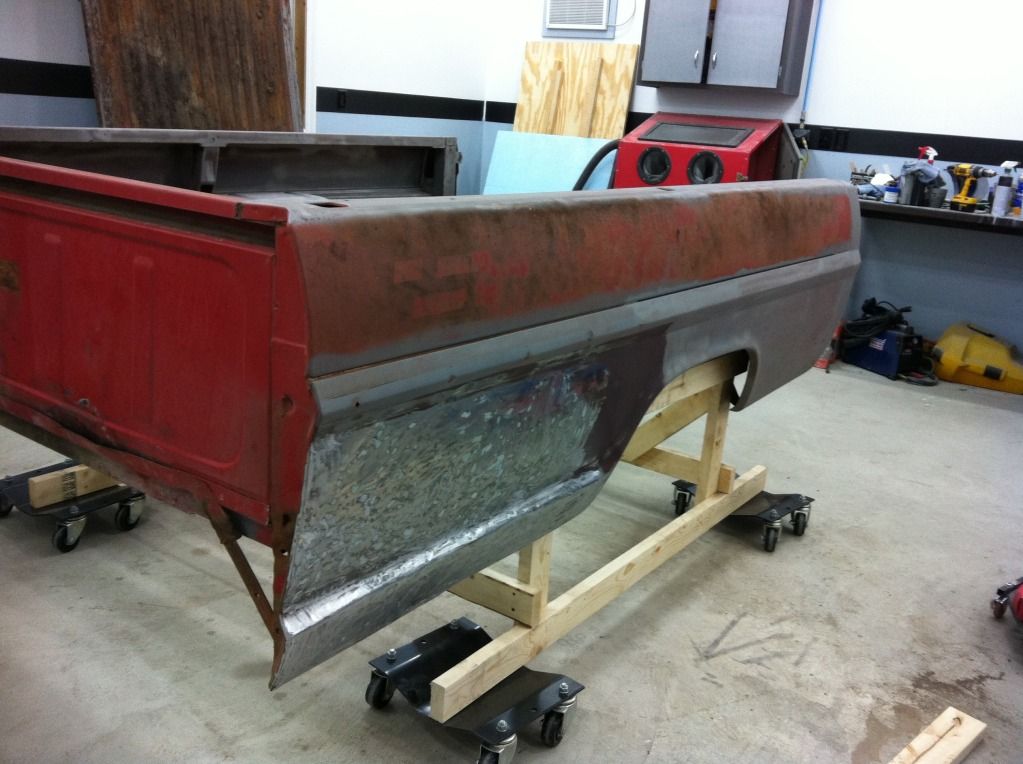
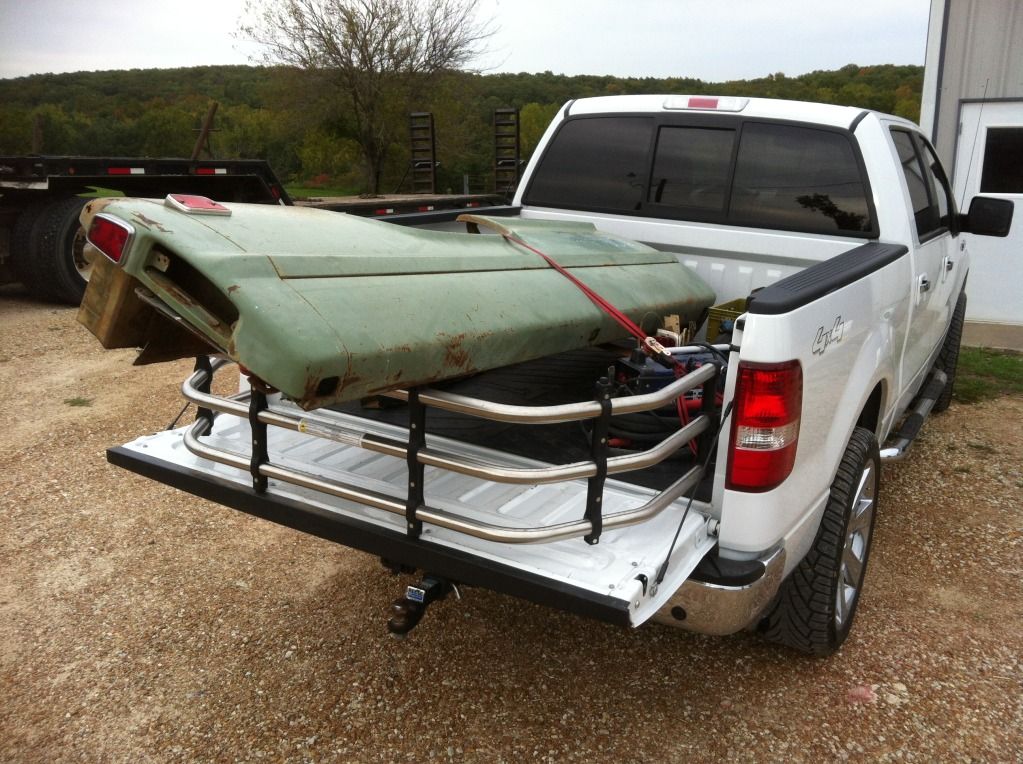
I torched off the bed bolts from underneath and my Dad helped me shift the bed back for better access. Then the plasma cutter went to work.
Moderator: FORDification


jp2005 wrote:Projects! Why can't things just go smoothly?
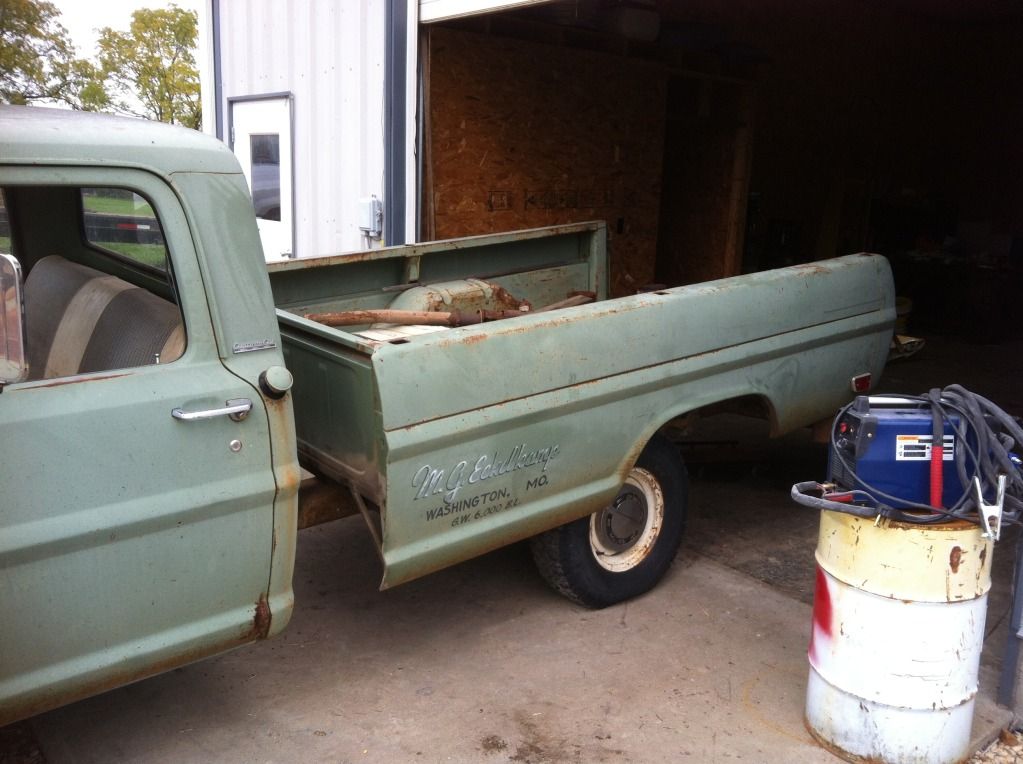
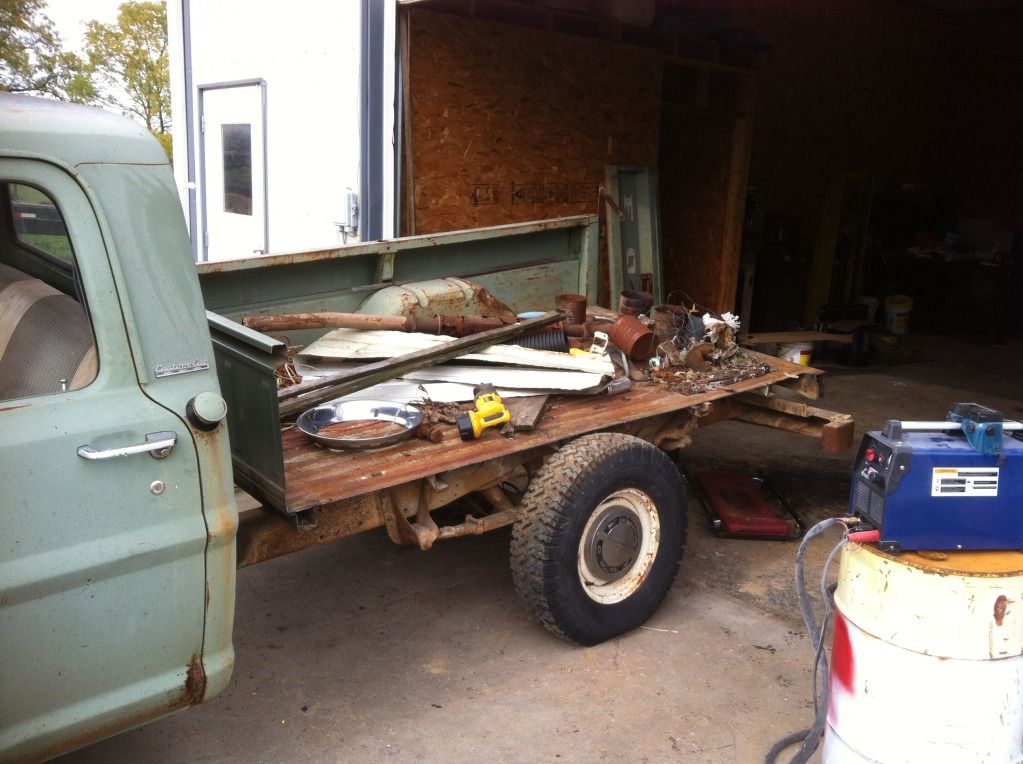
Yes, the floor, wells, and RH side were in pretty poor shape as I mentioned above. My brother was eyeing it for use as a trailer, but I guess I ruined that idea, wouldn't make a very good trailer now.BigBlueF250 wrote:Was the green bed in bad shape? Why not use the whole bed?


woods wrote: The rust holes in my truck were a factory install (very rare).

Tyler....I had to come search for this post.....To help you see what a Fantastic job...in a short time(I know it doesn't seem like that)that you've accomplishedtylerb43 wrote:Done by the high 20's
Yeah, I guess you're right, page 11 is a small exaggeration, but at the rate I'm going, by page 25, you guys will be helping me with installing the windshield!

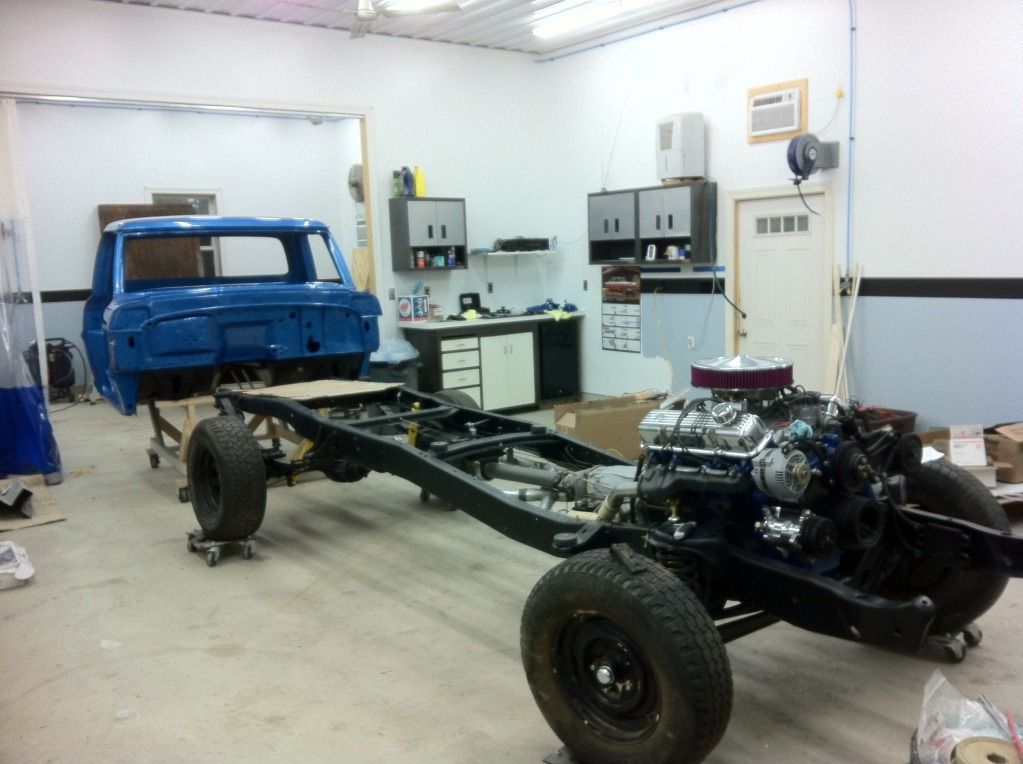
Speaking of milestones, a few day ago was the 1 year mark for my project. 11/20/2010 is when I pulled it out of my Dad's barn, where I had parked it so many years before. I thought I'd be much farther by now, but then again, looking at it that day - I had NO IDEA how much time and effort this thing needed to be awesome again. So I'm choosing to find the positive in the time (and money) spent and how far it's come.
[ Image ]

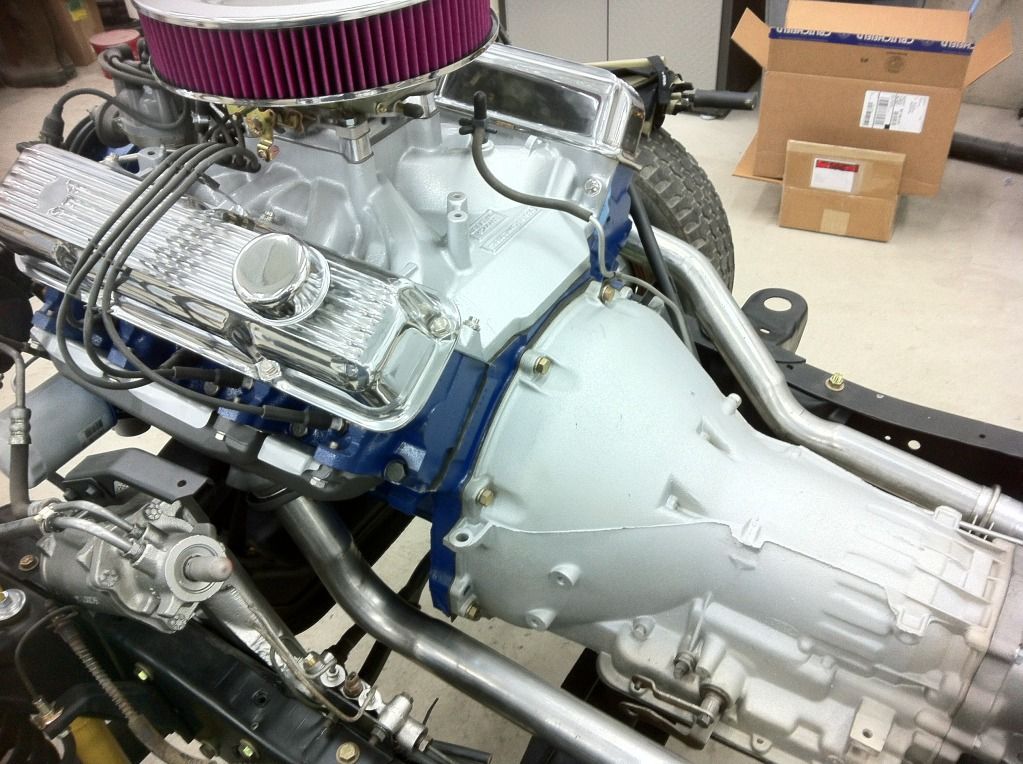
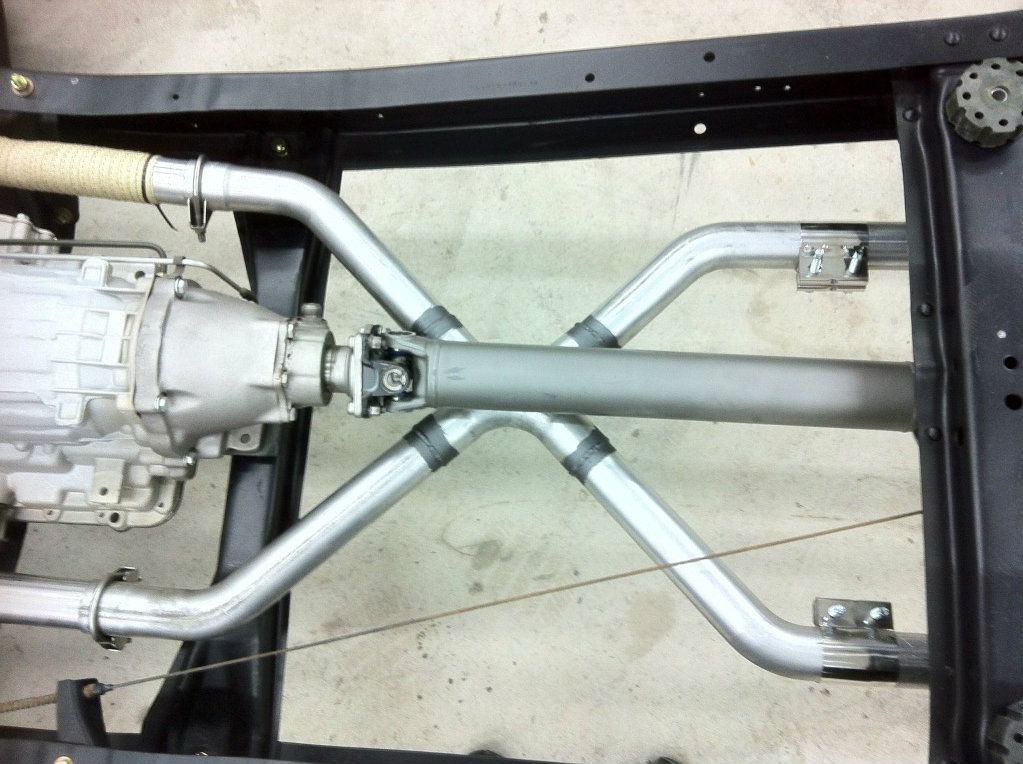
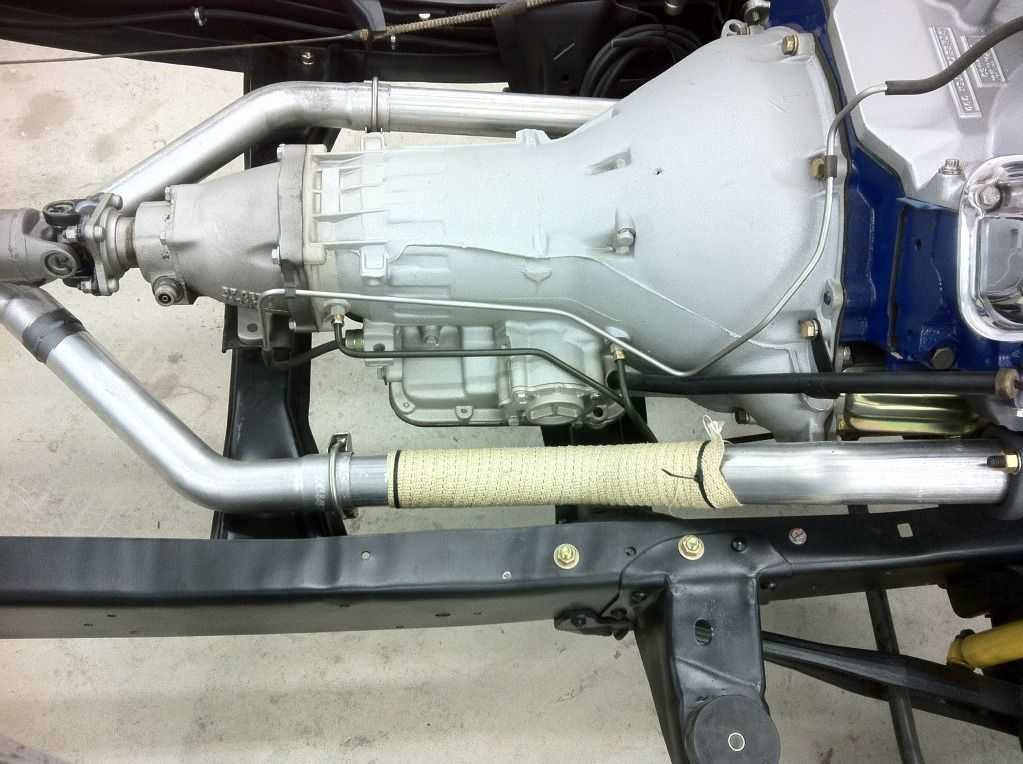
Thanks man! I thought about buying some pre-bent lines, but ended up bending my own and routing them in dual butterflied clamps on the crossmember just below the PS motor perch. I'll get a picture of that for you if you're interested. I used AGS's Poly-Armour lines (http://www.agscompany.com/automotive/10) which I purchased at Napa. They are very easy to work with, and are much more corrosive resistant that the standard steel lines. Another good choice would be their NiCopp lines.cole71 wrote:Looking great, I just recently got my motor and trans installed in my truck. I was wondering what you used for your transmission lines? Did you buy a set of pre-bent stainless lines I've seen? Or did you go another route?
Thanks Randy!! I'm just struggling to stay ahead of you!sargentrs wrote:Now THAT'S what I call progress! Great job Tyler. And looks like your inspector is pleased with your work, too!
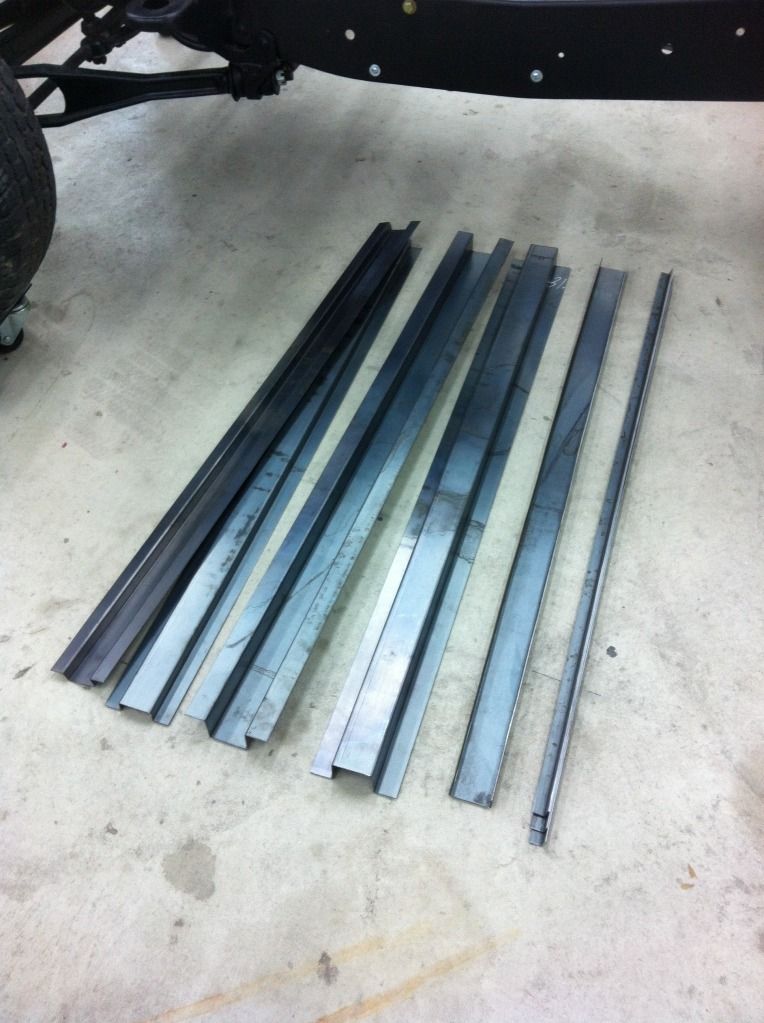
Thank you very much for the kind words! I know many don't take the time to comment, but thanks to those that do, it keeps me very motivated and wanting to show you guys the next update!Manny wrote:WOW and WOW again. That thing looks spectacular!!! Yes the paint on that truck deserves some high praise but all you efforts deserve that. What a incredibly beautiful machine. If only mine can look like that........Where did the replacement bed floor supports come from. gonna need to reconstruct my 73's SCS bed for sure????