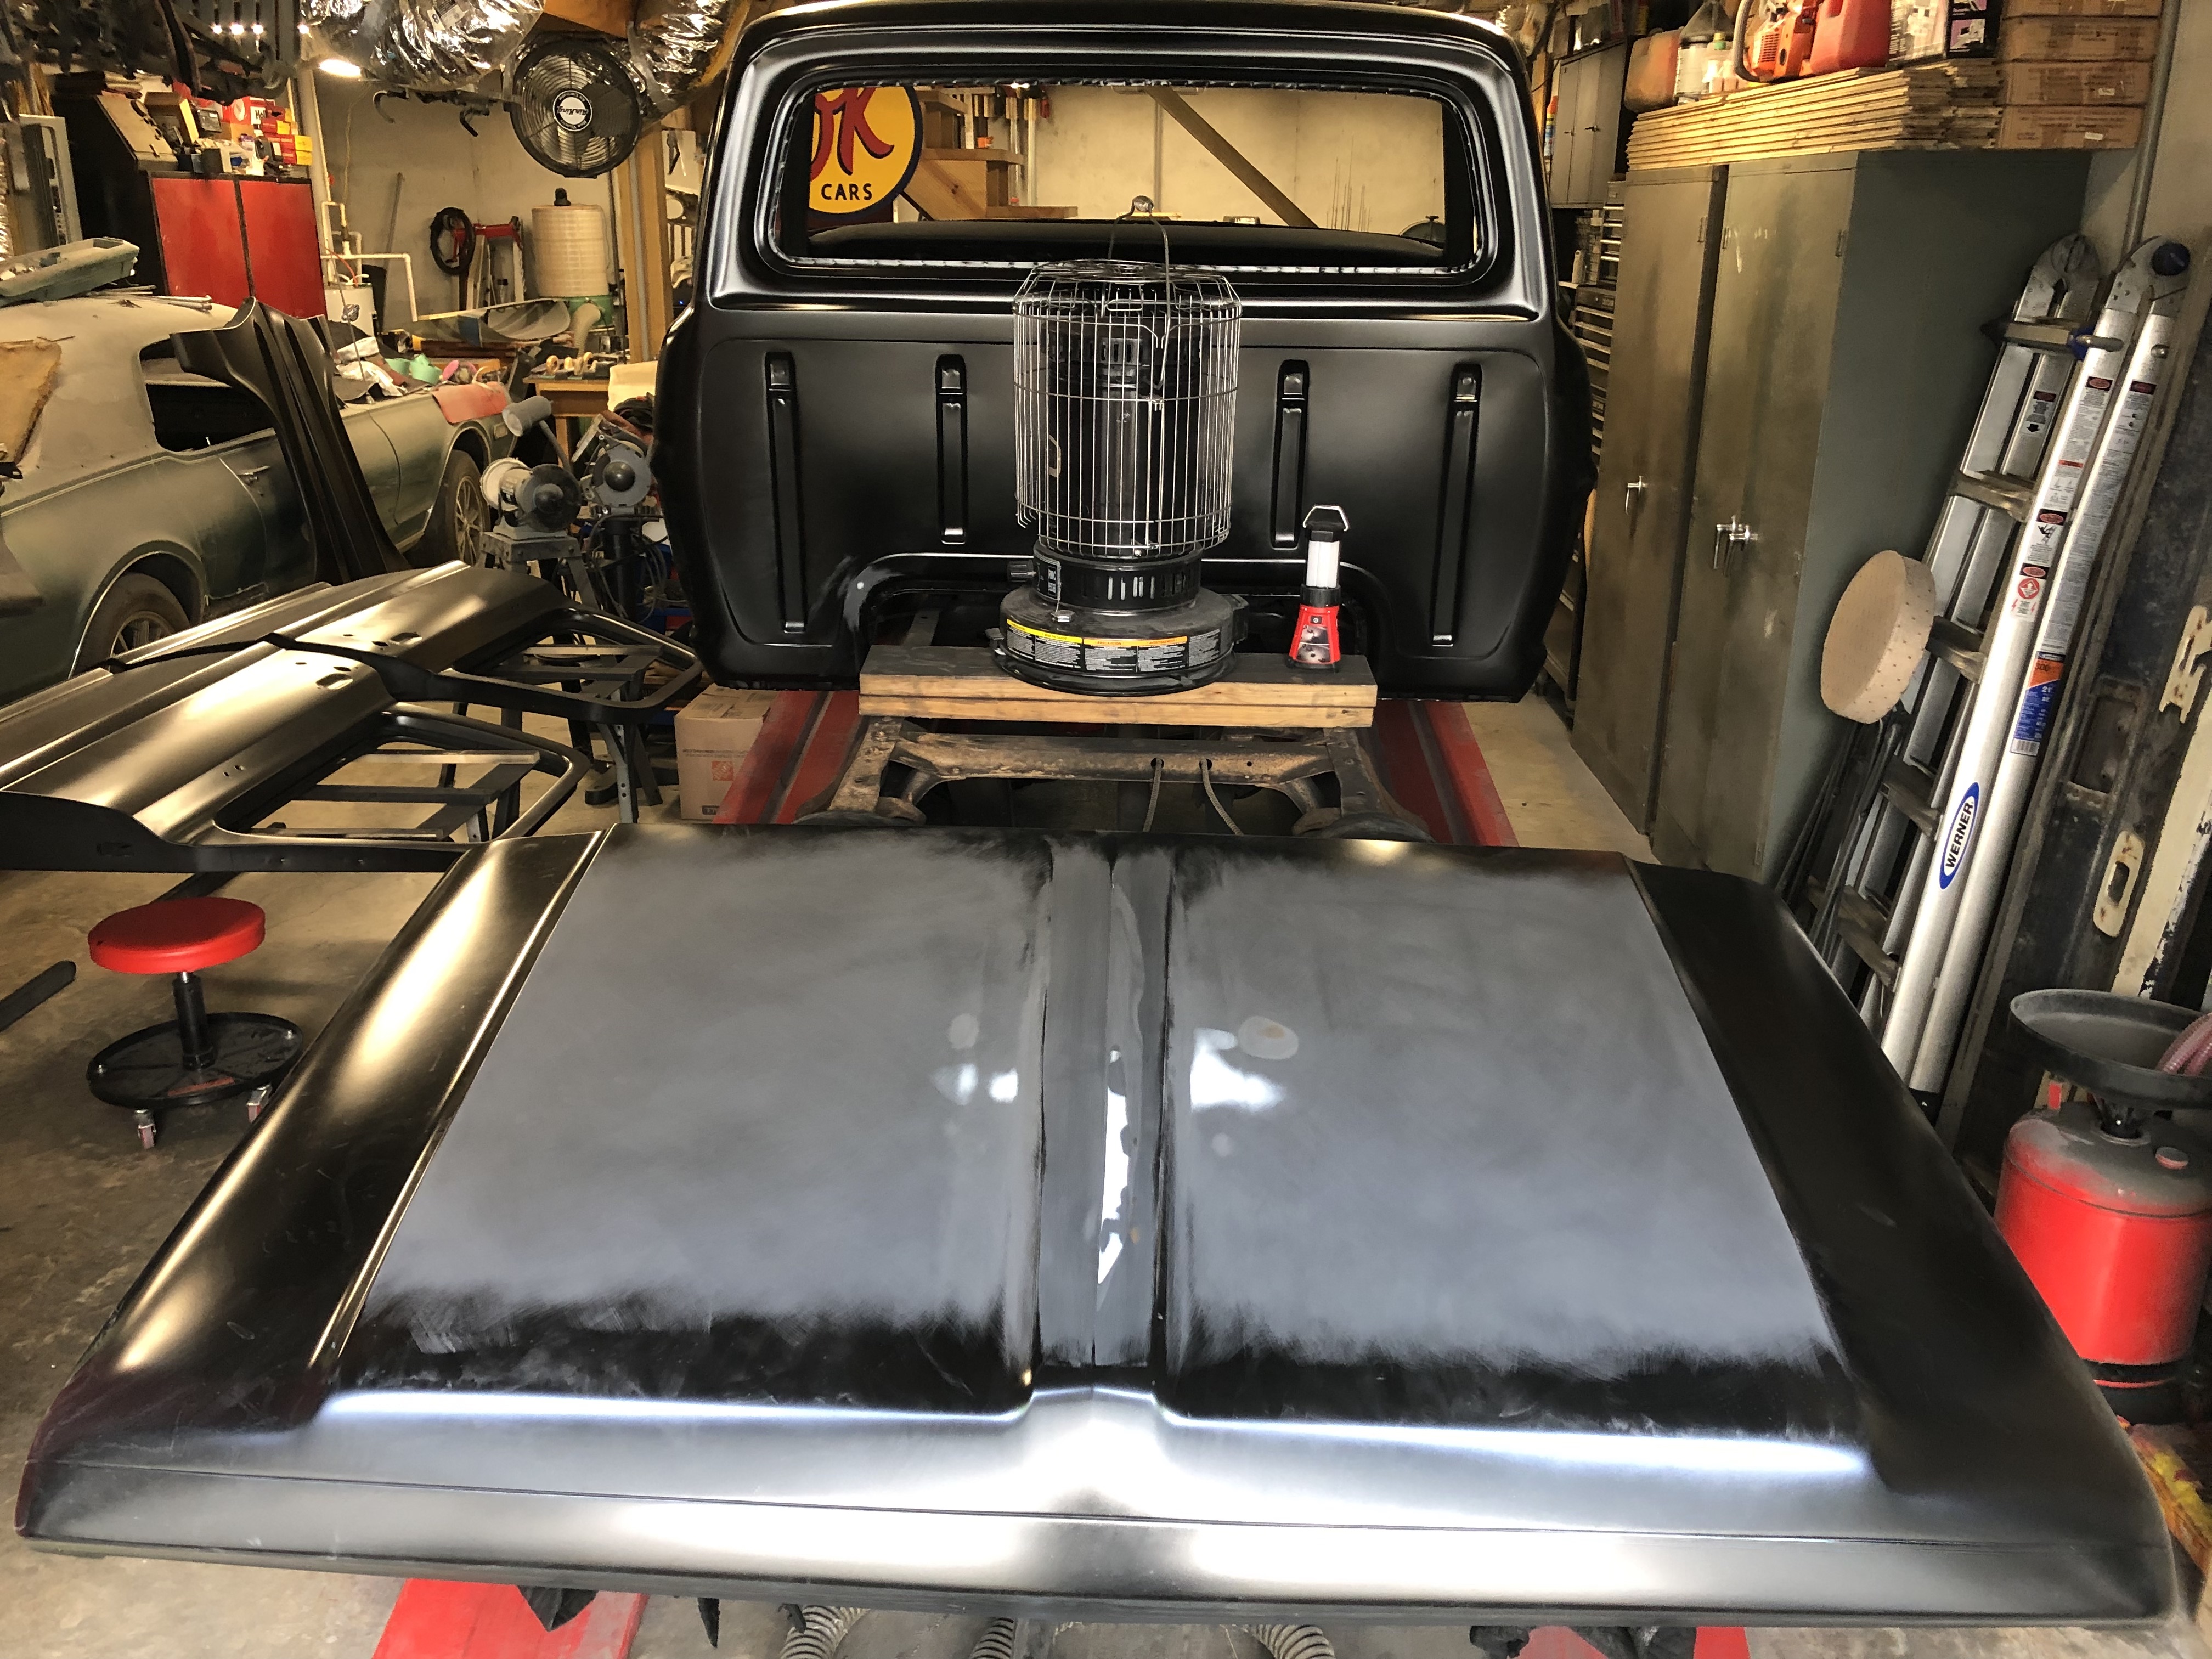
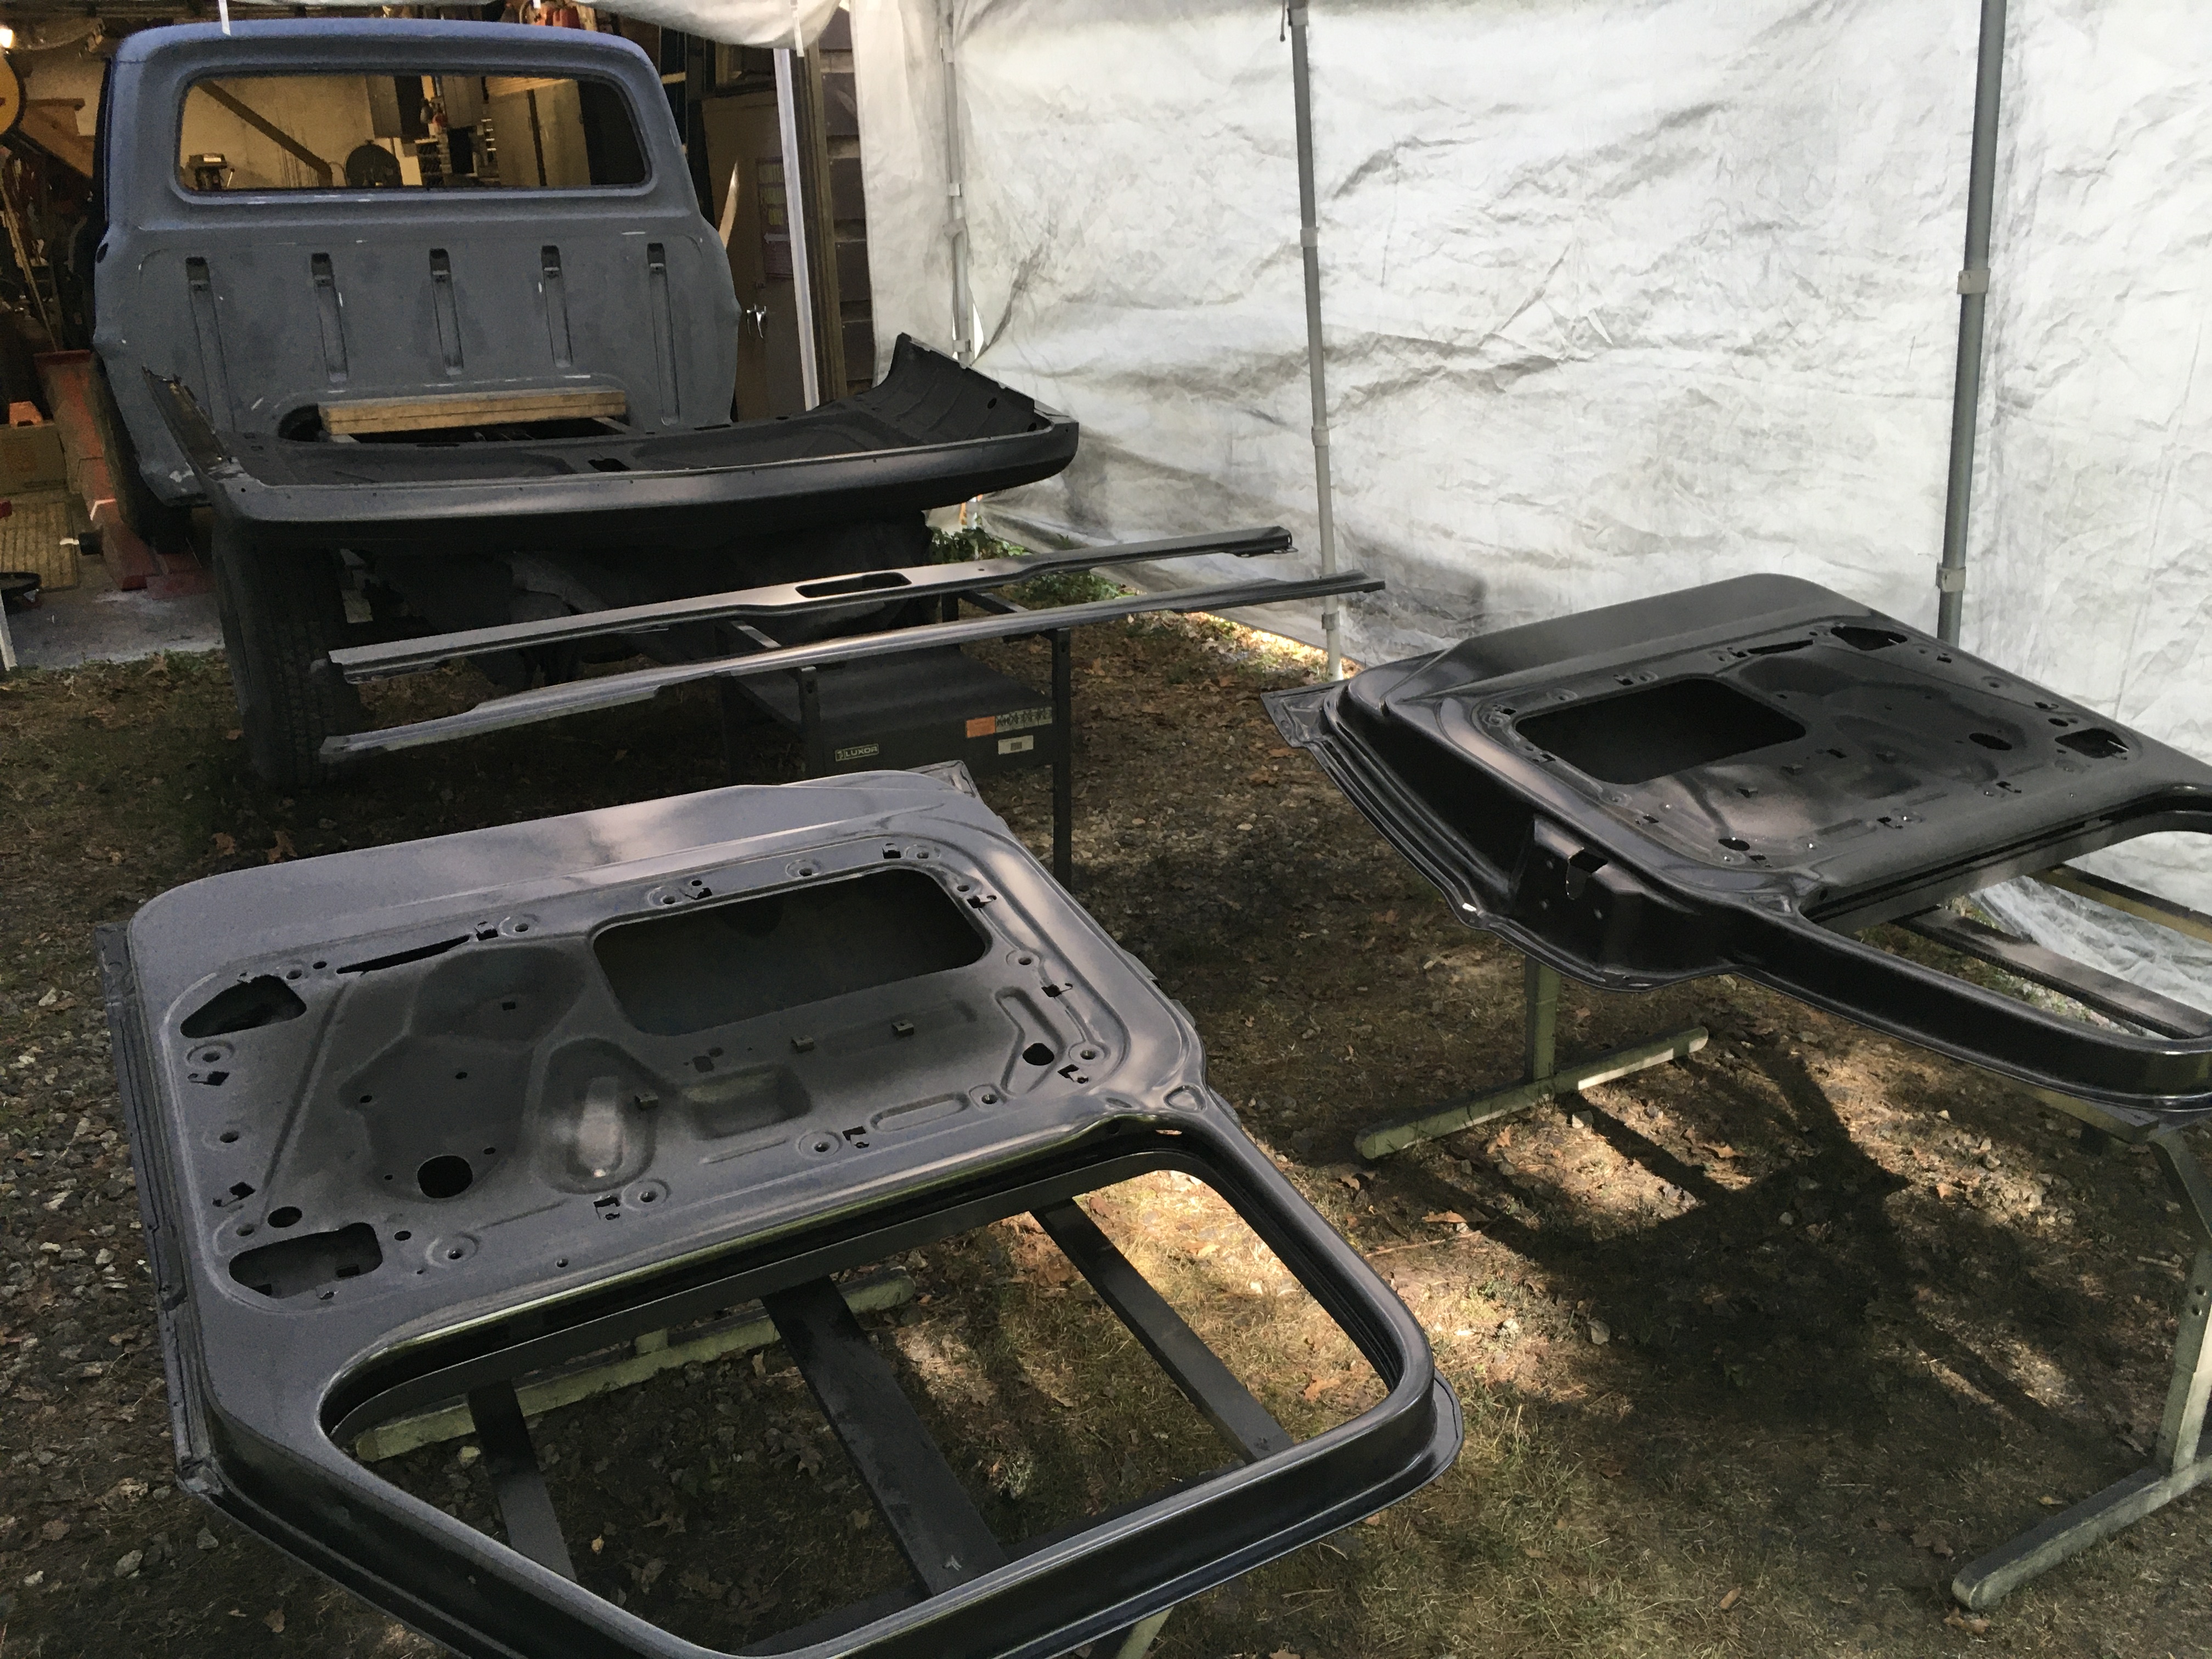
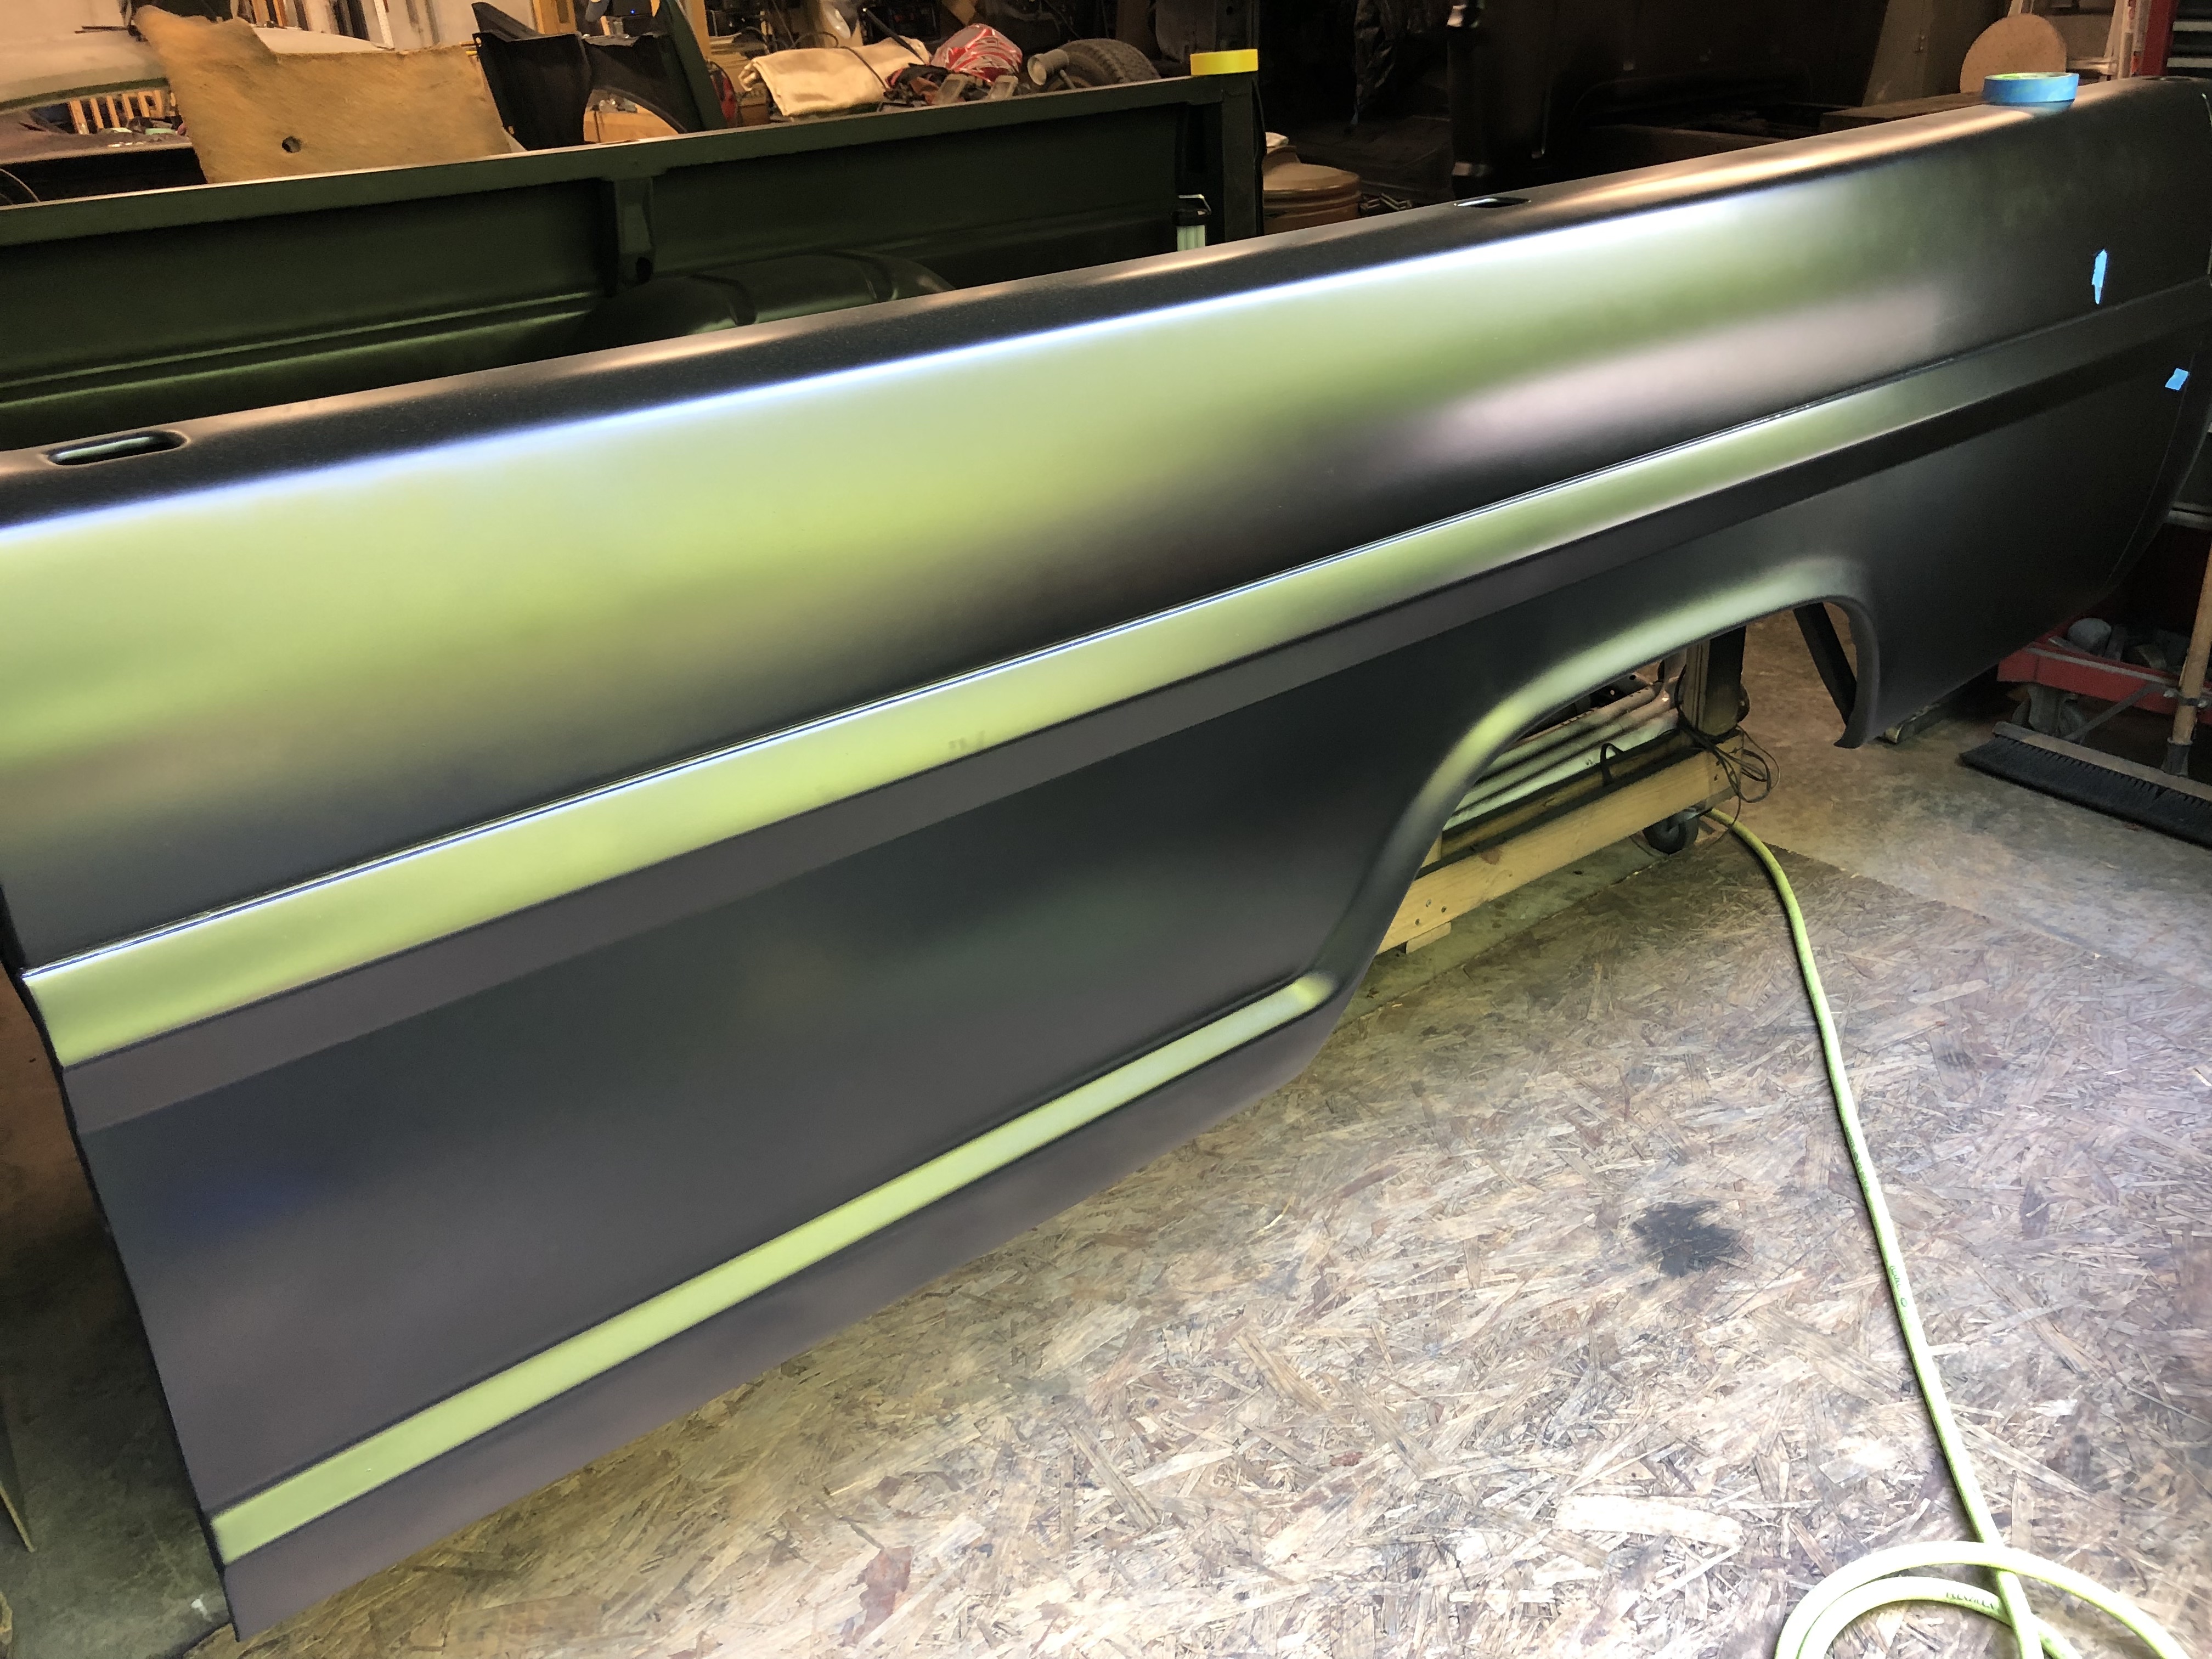
Well it’s been quite a while since my last update so it’s a long one with a truckload of pics in sequential order. Since the last update post a couple years ago I’ve been back three times where I’ve made time to dedicate to the truck. Tough finding time while living in two locations, especially when some months we are there it’s too cold for the paint work or I’m distracted with deer or turkey hunting…. I’ve finally hit the milestone of having all the block-sanding complete with the panels nice and flat. Due to my rookie mistakes and ignorance it actually took many more rounds than expected of sanding, thin applications of body filler or glaze, spraying another layer of epoxy then repeating the process again and again chasing the final low spots at the welded trim holes and everywhere really. It’s certainly been a learning process. On more than one occasion I thought that I was “done”, and that the next coat of epoxy primer would be enough to fill those almost imperceptible lows that the block sanding was leaving scratches but not quite covering like the surrounding area. (This SPI epoxy acts as it’s own guide coat.). Then on another round I would find deep scratches I had missed, or pinholes, or more lows. I think a lot of these “lows” are due to using 16” or longer blocks and not what could be seen in the final spray of color. Using a slightly shorter block would have removed the lows after a few criss-cross strokes too… so how flat is flat enough to not be seen looking down a panel in the sun? I know a lot of the spots that took a skim with glaze or filler were in areas that appeared perfectly flat and looked fine before the original paint was removed. Anyway, I know it’s now flatter then when it left the factory. Had to do some final cleanup to straighten the edges of the “bump” on the passenger side bed where I had to weld in a patch. Also took several rounds of filling, sanding and tweaking on the driver side fender that got crunched when the truck rolled off the Kwik-lift and the door smashed into the fender…. Spent a lot of time working on getting the front underside of the hood back in top shape after dropping it and making a ton of new work for myself. Also noticed that the peak down the middle of the hood wandered a little so I worked on straightening and sharpening that.
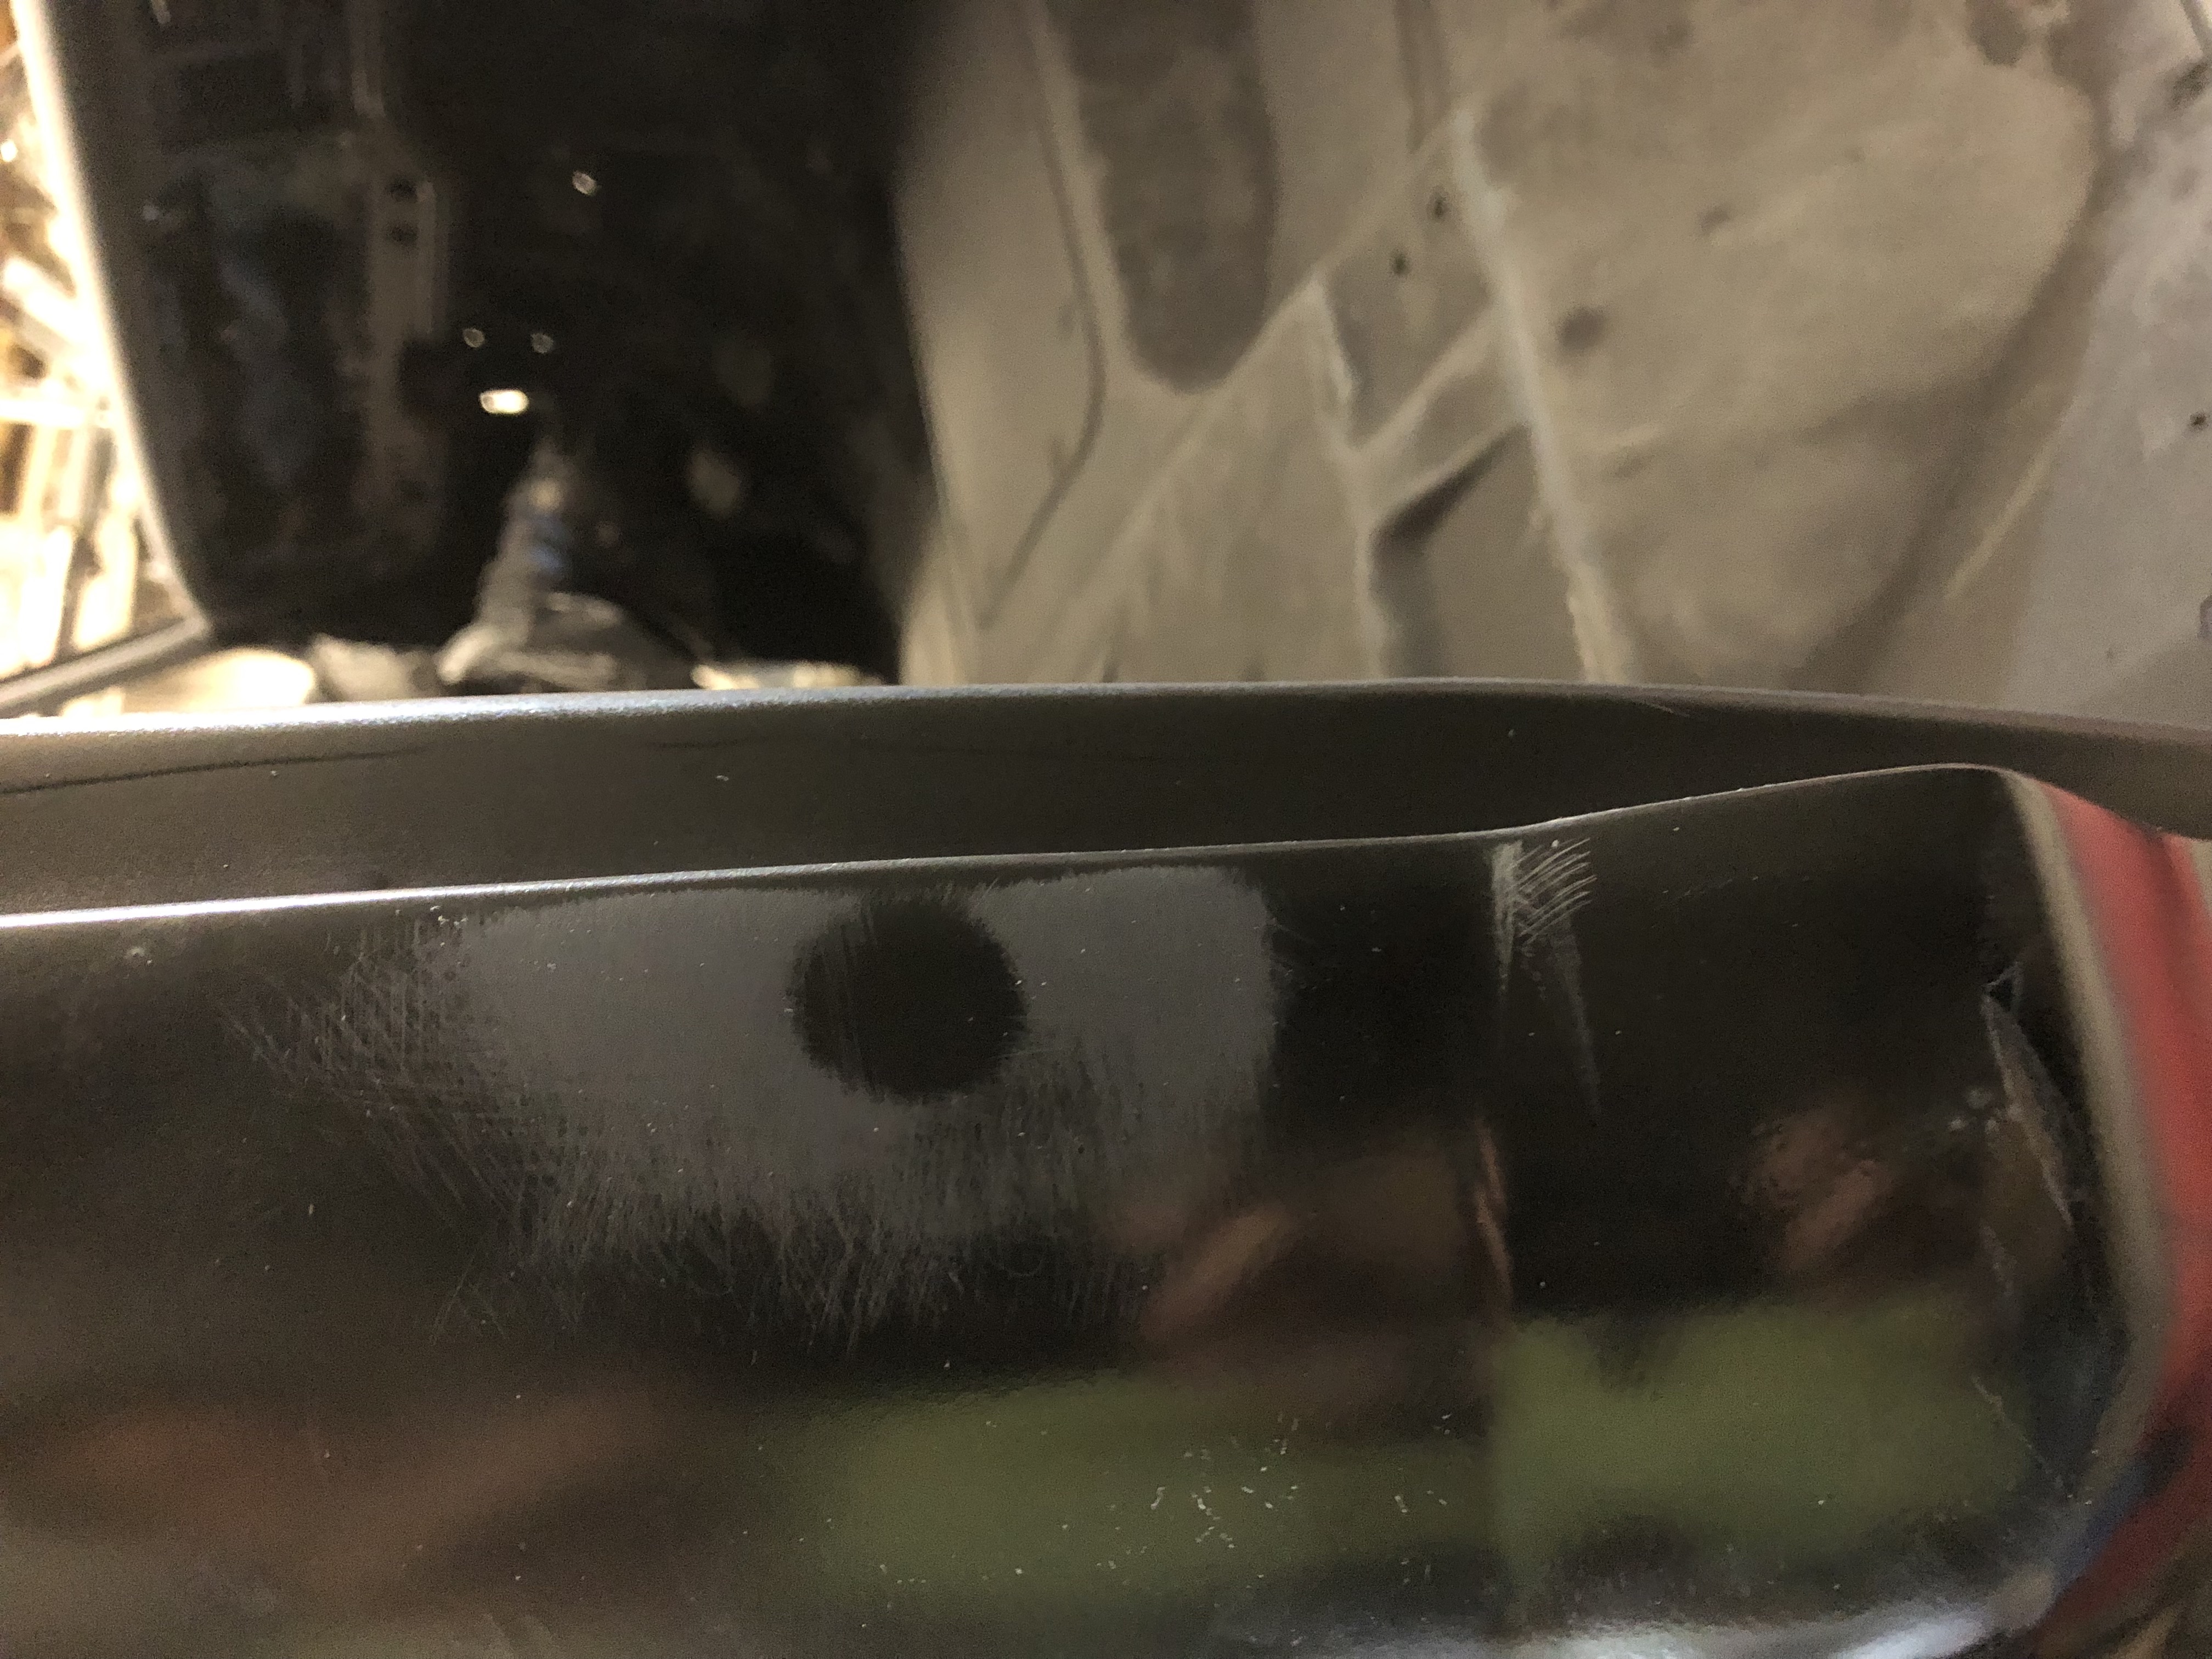
I did the seam sealing on all areas except for the bed interior. I was dreading that process and I made a mess of parts of it as I expected. Next trip it’s going to require some cleanup of the drip rails mostly, especially the vertical portion of the driver side. I used a two part epoxy sealer from SEM which is sandable, so I’ll have to see how that goes. Used a high-build for the regular seams which came out pretty good everywhere. Used a self-leveling in the horizontal portion of the drip rail which was the worst. If I had not tried to go back and fix a couple spots as I was laying it then it wouldn’t be such a mess. As I got all the way to the other end of the rail I saw a couple spots and tried to lay more on top… I guess the first layer had started to kick so the second layer did not level or flow… it just gobbed up like the regular high build. The vertical sections were the worse. Passenger side is not bad. Driver side is a frickin mess. Went to thick and when I pulled the tape it was not right at the edge so left a big gap pulled back along the edge. Hood, bed and roof seams are not bad.
Aside from the seam cleanup sanding I think next steps are a final sanding of everything with 220, then 320, and maybe to 400. With epoxy I have to spray a final thin reduced coat within 24 hrs of spraying the color base coat. Timing that is going to be the toughest part so I’m going to have to do it in sections for sure. I think maybe on my next trip if I can get my ducks in a row I’ll try to spray the cab interior, door jambs, underside of the hood, etc. Still not sure how I want or need to tackle this. Haven’t even selected a paint yet. I want to go with a single-stage, and need something I can put down several coats and then sand-out and buff to deal with dust, bugs and any of my rookie spraying mistakes that are inevitable. I’ll try to seal up my portable painting structure, put plastic on the ground, and setup some exhaust fans and take precautions I haven’t done while I’ve been spraying primer, but it’s still not going to be a super clean paint booth like I need. This last trip I dealt with the worst paint contaminations that I have so far. For some reason my “lint free” paint prep wipes were leaving tons of lint after the wipe-down with the wax & grease remover before each spray. Some of the panels looked like they had been sprinkled with salt right before I sprayed… Need to get a new brand of wipes and add some tack cloths to the process.
This epoxy primer has definitely had some drawbacks which have slowed me down and made me wonder if the advantages outweigh the catches. There is a “7 day window” that once cured it has to be sanded again before more primer can be sprayed or filler applied. It’s also supposed to be sanded within a day or two of when you do that respray… I actually have to check to see if before my color coat if I have to respray another unreduced coat of epoxy before the reduced coat that is applied after the final finish sanding. Ughhhh
Oh yeah, I gave up on the tailgate I had started on. After sandblasting, filling trim holes, primering and struggling with dents along the top edge, I noticed a bow along the length of the gate… No way I can get the bow out of it. So, I’m trying to decide if I’m going to use another gate I have which is good except for the top edge, and then cut the entire perfect top off my original to weld on. My original is straight but badly rusted in the middle and bottom…. I’ve got no problem buying a new Dennis Carpenter repro tailgate but haven’t seen one in-person to judge the quality or construction compared to an original. I’ve heard they are lighter gauge metal and have heard mixed reviews, so I would welcome any input from anyone who has some firsthand experience with them.


